The Problem Focus Stacking Solves
A camera lens can only bring one distance into true focus at a time. Everything closer than that plane, and everything farther away from it, is rendered progressively softer. At ordinary photograph distances this hardly matters, because the zone of acceptable sharpness — the depth of field — is deep enough to cover an entire landscape or a whole room. Magnification changes that arithmetic completely.
The more you magnify a subject, the thinner that zone becomes, and it thins out fast: double the magnification and the depth of field falls to roughly a quarter. At the magnifications used across this site — from 1× up to 10× — the sharp zone is measured in fractions of a millimetre. A sheet of paper is about a tenth of a millimetre thick; at 5×, the sharp zone on this equipment is already thinner than that sheet, and at 10× it is narrower than a single red blood cell. No single exposure can hold an entire three-dimensional flower in focus when the sharp slice is that thin.
That is the core problem. The fine surface detail a researcher needs — cell texture, hair bases, petal margins — sits at different depths across a specimen that is several millimetres deep, and a single frame can only ever render one depth layer cleanly. Focus stacking exists to solve exactly this.
What Focus Stacking Actually Is
The idea is simple: if one exposure gives you one thin plane of sharpness, take many exposures and move the sharp plane through the whole specimen between them. The camera begins with focus on the nearest point of the subject and records a frame. A motorised rail then advances the camera a short, precisely controlled step — tens of micrometres, a fraction of the thickness of that sheet of paper — and records another frame. Step by step, the plane of sharp focus travels from the front of the specimen to the back, the way a deli slicer passes through a loaf of bread. Every frame is sharp somewhere; none of them is sharp everywhere.
Software then performs the merge. It examines every frame in the sequence, keeps the regions each one rendered sharply, discards the blurred remainder, and composites those regions into a single image whose depth of field spans everything the sequence covered. The result is a photograph that could not exist as a single exposure: an entire flower, front to back, in sharp focus at a magnification where the optics alone would deliver a fraction of a millimetre.
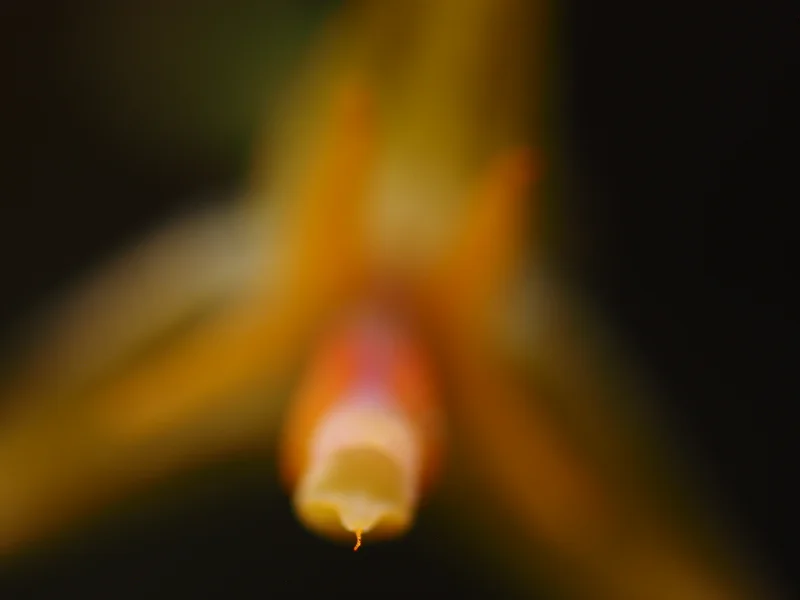
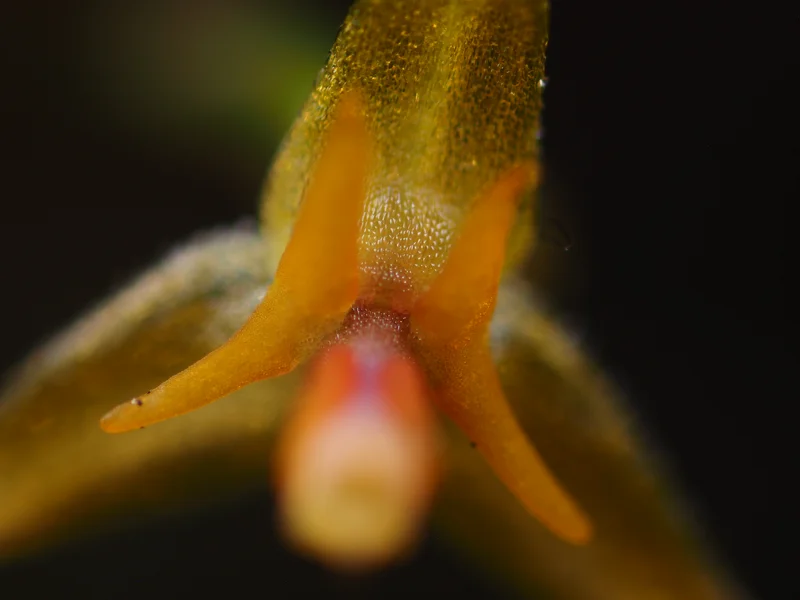
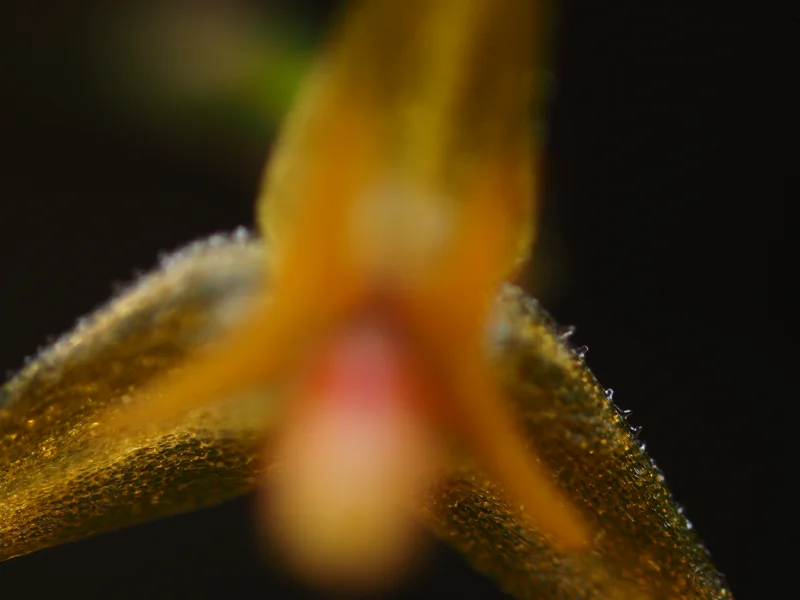
Read the three frames above left to right. In the first, only the structures nearest the camera are sharp and the rest of the flower melts into softness. In the second, a slice further into the specimen has come into focus while the front has left it behind. In the third, the far side of the flower finally gets its turn. Every frame recorded between the first and last contributed one more such layer, and the finished composite takes the sharp slice from each of them.

What “Macro” Actually Means
In strict usage, macrophotography is not defined by how close you stand to a subject. It is defined by a reproduction ratio: the size of the subject’s projected image on the camera sensor, relative to the subject’s real size. At 1:1 — “life size” — a flower five millimetres across projects onto the sensor as an image five millimetres across. True macro work starts at that 1:1 ratio and extends upward; the images on this site run from 1× to 10×, where a bloom a few millimetres wide fills the frame with room to spare.
Much of what is casually called “macro photography” — a bee filling a phone frame, a garden flower shot from arm’s length — is really close-up photography, taken well below life-size reproduction. The distinction matters for more than vocabulary. The depth-of-field collapse described above, and the stacking workflow built in response to it, become serious precisely at and beyond 1:1. Below that ratio, single frames usually carry the whole subject; above it, stacking stops being optional and becomes the default method.
Is This Microscopy?
Not quite — though the two overlap more than most people expect. A microscope images a specimen prepared for the stage: typically fixed, sectioned or mounted, often under a coverslip, through an optical system built around exactly that preparation. A macro rig images a free-standing, living, intact specimen with photographic lighting, and moves the camera past the subject rather than the subject through the optics. The distinction is less about magnification than about the optical path — and about what each instrument asks the specimen to endure.
That comparison deserves a fuller treatment than a paragraph can give it.
Read Note 06 — Macro Focus Stacking vs. Microscope Z-Stacking →
Where to Go from Here
The five notes that follow this one are diagnostics. Each takes a single problem that degrades real focus stacks — haze and halos, subject and camera movement, magnification breathing, vibration, rail step size — and explains where it comes from, what it costs, and how it is controlled in practice. They assume you now know what a stack is and why frames are sliced; read in order they form a short curriculum, and dipped into individually they stand on their own.
If you are weighing this kind of imaging for a specimen, a manuscript or a course, the practical constraints — how deep a subject can be, how many frames it will need, how long the session will run — are worked through with real numbers in Note 05. And if the question is whether a microscope or a macro rig better suits your material, Note 06 answers it directly.