What the Step Actually Controls
Every frame in a focus stack records one thin slab of sharp focus, bounded by the depth of field of your optical configuration at that magnification and aperture. The rail advance between frames — the step size — decides how thick each slab is, and how much it overlaps the slabs before and after it. Everything else about the capture follows from that one number.
Set the step too large and adjacent slabs no longer touch: the composite develops banding — stripes of softness at regular depth intervals where no frame ever recorded the subject sharply. No stacking algorithm can bridge that gap, because the missing detail was simply never captured. Set it too small and the step count balloons, pushing session times well past what a living flower tolerates before it wilts, breathes or moves.
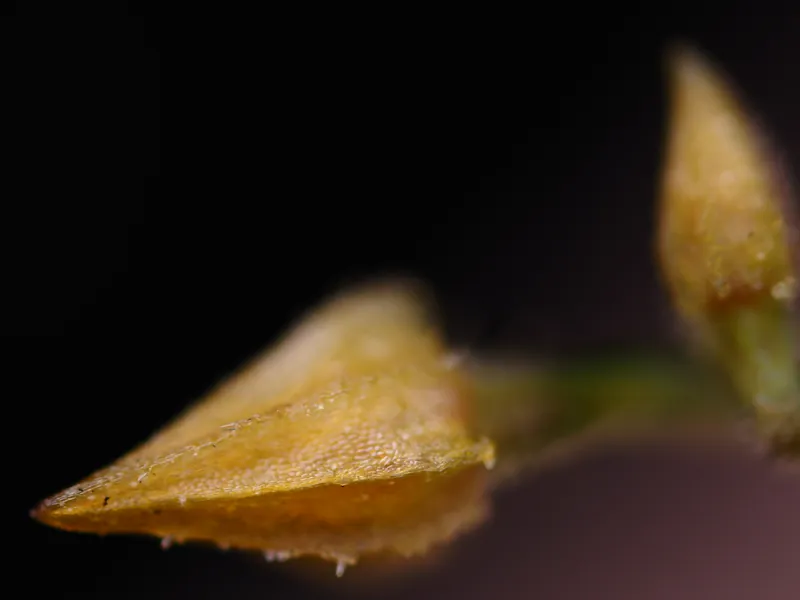
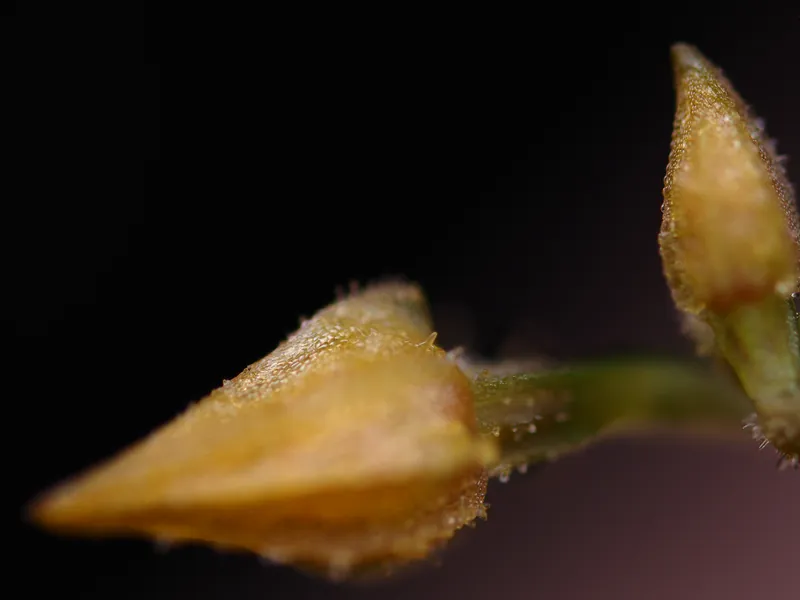
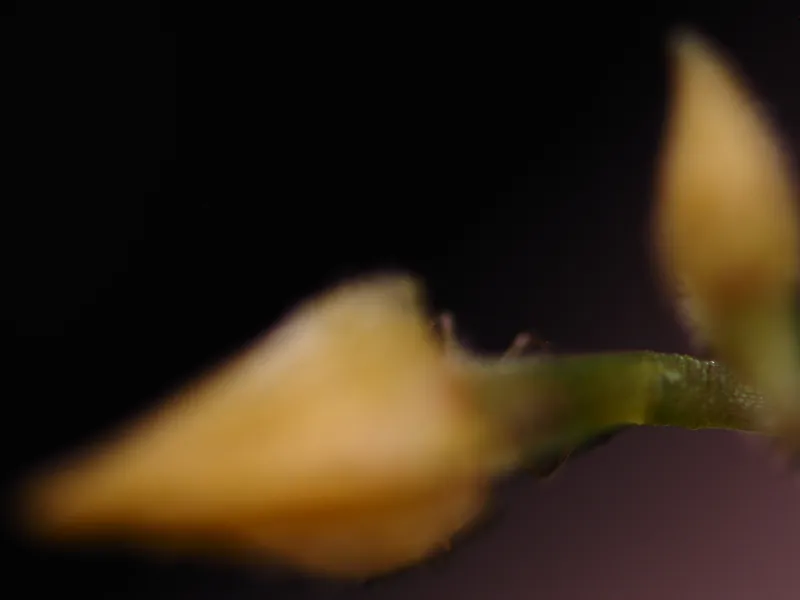
Each of these three exposures carries exactly one narrow plane of focus. The step size chosen for the full sequence determines how many such planes the subject needs — and whether the gaps between them exist at all.
Why Depth of Field Collapses So Fast
At macro magnifications, depth of field shrinks with the square of magnification. In practical form: DoF ≈ 2 × c × N_eff / m², where c is the circle of confusion, N_eff the effective f-number and m the magnification. Double the magnification and you quarter the depth of field — before you have touched the aperture.
On a Micro Four Thirds sensor (c = 0.015 mm) that collapse is brutal. At 5× and a nominal f/8 the working depth of field is roughly 58 µm; at 10× it is down to about 6 µm. The aperture label on the lens is not the whole story either: the effective f-number grows with magnification (approximately N × (1 + m) for symmetric designs), and a microscope objective's working aperture follows from its numerical aperture rather than any diaphragm at all. Stopping down does buy depth and fewer frames — until diffraction starts spending the resolution you gained.
The 80 Percent Rule
The working convention is to set the step to about 80% of the effective depth of field, leaving roughly a fifth of overlap between adjacent slices. The overlap is deliberate insurance. Rails have mechanical backlash, nominal steps vary slightly from commanded ones, subjects are never perfectly still, and the DoF estimate itself is an approximation. Twenty percent of overlap costs a few extra frames; a gap between slices costs a visible band that cannot be repaired from any source.
Banding — regular stripes of softness at consistent depth intervals across the composite — is the signature symptom of a step set slightly too large. If you see it, the step was too big for the real depth of field at that aperture, and the fix is to retake the stack with more overlap, not to re-process the one you have.
Worked Values
| Configuration | Magnification | Working aperture | Approx. DoF | Step at 80% |
|---|---|---|---|---|
| 60 mm macro + Raynox DCR-250 | 2.5× | f/8 | ≈134 µm | ≈107 µm |
| Ultra-macro lens (2.5–5×) | 5× | f/8 | ≈58 µm | ≈46 µm |
| Ultra-macro lens (2.5–5×) | 5× | f/11 | ≈79 µm | ≈63 µm |
| 10× objective + 200 mm tube lens | 10× | NA 0.25 (≈f/20 effective) | ≈6 µm | ≈5 µm |
The microscope-objective row deserves a note: an infinity-corrected objective's effective aperture is derived from its numerical aperture (N_image = m / (2 × NA)), not from the finite-conjugate rule. Applying the ordinary (1 + m) formula to an objective is a common way to overstate its depth of field — at 10×/NA 0.25 the incorrect route yields f/16 against the correct f/20, a quarter more depth than the optic actually delivers.
From Steps to Frame Counts
Frame count is where step size meets biology. A flower with 1–4 mm of depth at 5×/f/8 (46 µm steps) needs somewhere between 22 and 87 frames — a session of minutes. The same subject at 10× would need 200–800 frames and anywhere from 15 to 60 minutes of continuous capture, which exceeds what most living orchid flowers tolerate before wilting distorts them. This is why the highest magnifications are reserved for shallow structures, and why deeper subjects are captured at lower magnification or split into sub-stacks.
A Practical Workflow
- Estimate the subject's depth before you commit — with calipers on a robust specimen, or with a short dry-run pass that finds the first and last sharp positions.
- Look up or compute the depth of field for your magnification and aperture, and set the step to roughly 80% of it.
- Dry-run a short stack and inspect it at 100% magnification for banding before committing to the full capture.
- Bracket the subject with margin — the first and last frames should both record out-of-focus subject, so coverage is never in doubt.
- Verify exposure is stable across the first several frames; flash output and ISO held constant keep the stacker's job simple.
The step is the cheapest number in the whole workflow to get right, and the most expensive to get wrong. It is arithmetic, not gear: ten minutes with the formula above, and a table like the one here taped to the rail, will prevent more failed stacks than any purchase.